Remodeling? Read This Plumbing Rough-In Checklist First
When you think about a remodel, it’s easy to focus on the fun details—tile, cabinets, lighting fixtures. However, what makes or breaks a kitchen or bathroom remodel often isn’t what you see, but it’s the plumbing rough-in hiding behind the walls. This step sets the foundation for everything else, and mistakes here can lead to leaks, failed inspections, or costly delays down the road.
To help you plan confidently, our plumbing experts at Iceberg Home Services have put together a clear plumbing remodel checklist that walks you through sequencing, inspection must-knows, and when it’s time to call in the professionals.
What Is a Plumbing Rough-In & Why Does It Matter in Remodels?
A plumbing rough-in refers to what happens before drywall or finishes go up. It’s the stage where drain, vent, and water supply lines are installed and positioned according to your remodel layout.
Where a Rough-In Sits in the Remodel Timeline
Most remodels follow this sequence:
- Demolition
- Framing adjustments
- Plumbing rough-in
- Electrical rough-in
- Inspections
- Drywall and finishes
Get the order wrong or miss a step, and you’ll risk having to tear things back out to fix plumbing before you can move forward. It’s essential that this plumbing work gets done early and done correctly so that your bathroom or kitchen remodel can move forward smoothly.
What Inspectors Typically Look For
Before you can close walls, inspectors usually check for:
- Proper venting connections
- Correct slope of drain lines
- Water pressure test results
- Pipe supports and strapping
- Access to cleanouts
Failing inspection at this stage can stall your remodel for weeks, which is why it’s crucial to get the rough-in right the first time.
 SCHEDULE SERVICE NOW
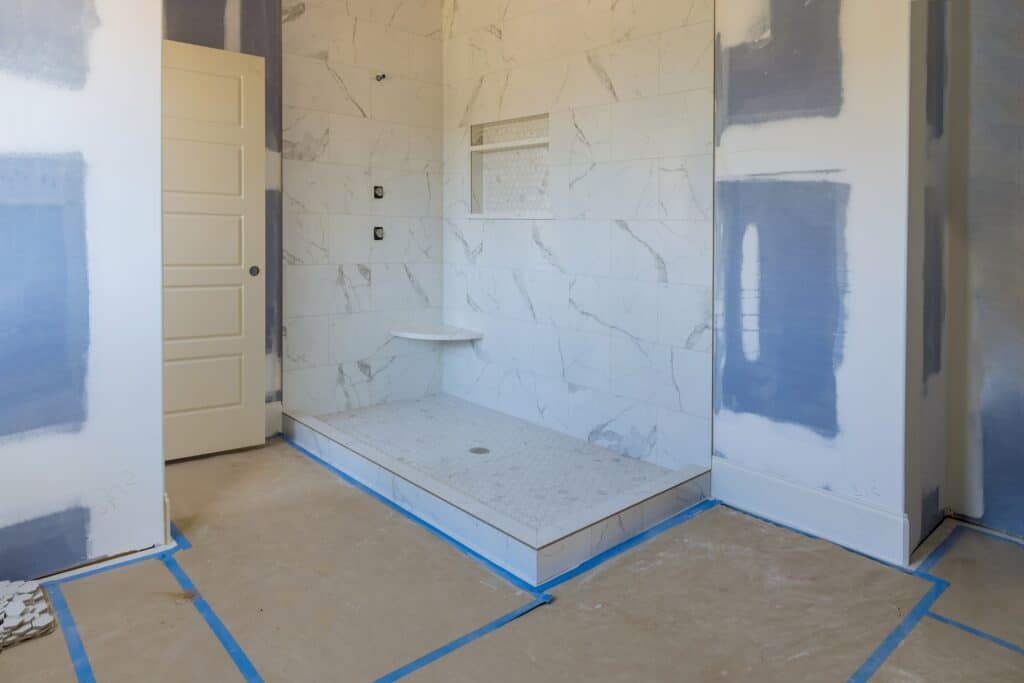
Rough-In Checklist for Bathrooms
Bathrooms often involve the heaviest plumbing remodel work, as most aspects of a bathroom require dependable plumbing. Here’s what to confirm before your drywall goes up:
1. Drain-Waste-Vent (DWV) Layout
For a bathroom plumbing remodel, the drain-waste-vent (DWV) system is crucial to get right. Drain pipes need a slope of at least ¼ inch per foot to keep wastewater moving and prevent clogs, while vent pipes must be tied in correctly to allow airflow and stop gurgling drains or sewer gas issues. Cleanouts should also be placed at code-required intervals to provide access for future maintenance.
2. Supply Lines
Water supply lines require careful planning to avoid problems later. Each fixture should have its own shutoff valve for easier repairs, and transitions between materials, such as copper to PEX, must use proper fittings to prevent leaks. Before inspection, the lines should always be pressure tested to confirm they can handle normal water flow without issues.
3. Fixture Spacing
Proper fixture spacing is another step homeowners often overlook during a bathroom plumbing remodel. Follow these standards for placing your fixtures:
- Toilet: 12–15 inches from wall to centerline, 30 inches minimum width clearance.
- Vanity and sink: At least 20 inches from centerline to wall or obstruction.
- Shower/tub set: Verify trap arms are within code limits for distance.
4. Common Remodel Changes
Many remodels involve rethinking how fixtures are arranged, which can introduce challenges for the plumbing rough-in. Moving a toilet, for example, means more than just shifting the bowl; it often requires reworking both the drain slope and vent connections. Similarly, converting a tub into a shower isn’t as simple as swapping fixtures; it usually requires upgrading to a two-inch pan drain to handle the increased water flow properly.
Rough-In Checklist for Kitchens
A kitchen plumbing remodel may look simpler, but it comes with its own challenges. Keep this checklist in mind when considering your kitchen remodel:
1. Sink, Dishwasher & Disposal
The kitchen sink, dishwasher, and garbage disposal are central to any kitchen plumbing remodel and need precise rough-in work. Traps must be vented to keep sewer gases out, and dishwashers usually require an air gap—or in some areas, a properly installed air admittance valve (AAV). It’s also important to ensure the dishwasher drain line loops above the sink connection to stop wastewater from siphoning back into the appliance.
2. Fridge & Ice Maker Lines
Water supply for refrigerators and ice makers should be designed with convenience and safety in mind. A dedicated shutoff valve should be installed behind or near the fridge to make future maintenance easy. For the supply line itself, copper or PEX tubing rated for potable water is the best choice.
3. Gas for Ranges
For kitchens that include a gas range, the rough-in stage ensures the system is safe and functional. Proper shutoff valve placement and correct pipe sizing are both critical for smooth operation and code compliance. Before inspection, the gas line should be pressure tested to verify that there are no leaks and that the system is ready for connection to appliances.
4. Island Sinks
Island sinks create unique venting challenges, which is why they require specialized solutions during a remodel. Depending on local code, a loop island vent or a properly installed AAV can be used to ensure adequate venting. Supply and drain lines must also be carefully routed and securely anchored, whether under the slab or through floor framing.


Permits, Inspections & Timing
Even a small remodel usually requires a plumbing permit in Florida. Skipping it can mean failed inspections and problems selling your home later.
When You Need a Permit
In most Central Florida remodels, a permit is required if you plan to move plumbing fixtures, run new water or drain lines, or install gas piping. Even smaller changes, like relocating a toilet or adding a new sink, usually require approval. Pulling the right permit ensures your project complies with code and protects you from problems later, such as failed inspections or difficulties when selling your home.
How To Pass First Inspection
A successful inspection comes down to preparation. Water supply lines should be capped but remain under pressure so inspectors can confirm that they hold without leaks. Drain lines are typically left uncapped to allow for proper flow testing. Inspectors will also check that pipes are adequately strapped and protected with nail plates anywhere they pass through studs or framing.
What Can Hold You Up
The most common reasons for remodel delays are rough-in mistakes that don’t meet code. Issues like venting systems that aren’t installed correctly, drains that slope too little or too much, or the absence of required cleanouts can all cause a project to fail inspection. Relying on a licensed plumber who understands local codes can help you avoid costly rework and frustrating setbacks.
DIY vs. Call a Pro: Where To Draw the Line
Some rough-in prep is safe for homeowners, like removing old fixtures and marking new fixture locations. However, the bulk of rough-in work should always be left to a licensed plumber, including these tasks:
- Running new drain-waste-vent lines
- Tying into the main sewer line
- Gas line installation
- Whole-home pressure testing
- Code compliance for venting systems
Ensuring that your remodel meets safety and quality guidelines, as well as code compliance, is essential. Getting these steps wrong can risk safety, failed inspections, or expensive rework, which is why you should always rely on trusted plumbing professionals.
Next Steps: Schedule Your Rough-In
Planning a remodel in Central Florida? Don’t let plumbing hold your project back. Iceberg Home Services offers full plumbing services for bathrooms, kitchens, and beyond. Our licensed plumbers expertly handle your plumbing needs so you can move forward with confidence.
Schedule your consultation with Iceberg Home Services today and get your plumbing rough-in done right the first time.
TODAY!